We are Ginger, Christina, and Tara - three pin-up loving ladies from Utah who want to share our love of the Pin-up Culture with with you. Follow us to read about vintage hair styling tips & tricks, vintage fashion, and our favorite brands!
Recently I won in a pin-up contest. Part of the prize pack was a fabulous thing of eyeshadow, more colors than I've ever had at my disposal before. It's by popfeel. I was a tad overwhelmed at the colors. After all, what was I going to do with all these?
Then this book "fell in my lap" via Amazon Vine, a review program I'm in. It's called Love Those Eyes and it's penned by Sarah Ellis and illustrated by Elisa Mazzone. It contains 50 eye makeup recipes, 50 different looks and color variations for your eyes.
Naturally, I put the popfeel eyeshadow to good use, following different recipes in this book. I'm just going to plant these here:
This was my first attempt. I love the color combination but when I open my eyes, the beauty pretty much disappears because I have that "hooded" aka "old lady" thing going on here.
Well, I then tried a few more, my favorite probably being a black and purple date night combo--I forgot to get a photo and this one: (Note, at this point, I wised up and began spreading the first color all the way to my browbone.)
The book also contains tips about brushes--which ones you need and what for--about how to use them, and little tips such as, "Use concealer on a flat eyeliner brush to touch up or sharpen edges after you've drawn them."
I'd recommend this book, for yourself, for a girl party, just to be different or get different ideas. While you don't NEED the book to creative, you may need it to give yourself that extra boost to try something different every now and then.
Us pin-ups know how important it is to have the perfect necklace to enhance that gorgeous cleavage when you wear your favorite PUG dress. But finding the perfect length, color combos, stones...well you won't always find what you want in the antique shop.
Feel free to get in touch with Breyla's Dream on Facebook. She made me the perfect necklace and earrings to match my PUG dress. I merely told her that I had this sexy red and dress with black lace and amazing cleavage...and she created this just for me! She is also on Ebay.
Pictures really don't do this justice. The way the light shines in the stones, the vibrant red. I'm thrilled with this.
And guess what? Today is my 38th birthday! Here's the complete outfit I chose to celebrate my day in!
Hey guys! Tara and I tried a new product over the weekend and I am here to tell you about it!
Two weeks ago when we were down at Bereit's Haunted Pin-Up Car Show down at Nightmare on 13th in SLC, we came across a vendor with an interesting product called Color Street Nails. Do you guys remember Jamberry Nail Wraps? If not, they are similar to Jamberry, but in my personal opinion (having tried both products) Color Street is 1000x better. See Jamberry Nails was basically a sticker with a design that you would stick on your nail and secure with heat. Not only was it time consuming to have to sit there with your blow dryer or little space heater to warm up the sticker to get it to stick to your nail, but there was also lots of trimming and filing involved which made the overall process to apply about 45 minutes to an hour. I'm sure I would have got faster with time, as I applied them more, but since it was such a pain to apply them I didn't wear them often - mind you I would have if they had lasted longer. That was my biggest issue with Jamberry Nails, they never seemed to last. I always had to trim my nails short because if my nails were too long the sticker would not stretch and mold to the shape of my nail it would just pucker and create a pinch on the edges, which of course caught on things. And since they were just a sticker, they never stayed on long. The ends were always peeling up and snagging on things or collecting lint and hair from the pockets of my jeans. Removal was at least a breeze because you just peeled it off, but it often left a sticky residue that needed to be removed with nail polish remover. Overall I feel like it was a good idea, but poor execution so when we came across Color Street Nails, I was a bit hesitant but I have to say I'm glad Tara talked me into it. I LOVE my nails. Color Street Nails are similar to Jamberry, but only in the sense that it is an "easy to apply" nail application that does not require glue. The best part? Color Street Nails are 100% nail polish! They come in these little packages with all different sizes and designs. Included in the package are alcohol wipes to clean your nails prior to application and a small nail file, which is all you need for application. With Jamberry you had to make sure you had your alcohol wipes, a nail file, a cuticle wand, a pair of nail clippers or cuticle scissors, and some sort of a heater - like a blow dryer. Since Color Street is 100% nail polish all you have to do to "cut" them to shape is apply pressure with your other nails. I suppose you could use a fancy tool if you really needed to, but all we did was open the package and follow the simple instructions to clean our nails, pick a size that fits, remove the protective cover and apply. Our nails are short enough that we were able to use a single set of strips to do both hands because we cut the strips in half so we still have enough for another application.
Size Strips.
I used the piece from my thumb on my pinkie.
My Design Choice
Tara's Design Choice
I would say the overall process still took us about 30-45 minutes but I feel like we will get faster with each application now that we know which sizes will fit and how to better apply them. Tara had just had a bad set of acrylic nails removed so her nails were a bit tender when it came to rubbing down the edges around her cuticles but she says they are still holding on strong. We applied these on Friday evening, it is now Monday and I am happy to report I have had no issues with my nails. I have washed my hair and moved furniture, applied full face makeup, baked cookies (which means 900 hand washings.. LOL). The only thing I noticed is that they seem to have light cracks through the centers like the nail polish is drying, but so far they have remained in tact. I will report back if anything changes. The consultant we ordered from was a doll and she was extremely helpful in explaining to us how it all works, and what makes it different and she had a whole book with different nails to choose from. If you want to order from the same lady we did, her name is Jaymi King. She has a Facebook page or you can contact her directly from Color Street's site.
Here are our nails all finished, right after application. What do you think!? Have you tried Color Street Nails? Did you love them? Hate them? Which design is your favorite? Let us know in the comments below!
First of all, I cannot take credit for this idea. I stole this idea from a lady on Instagram. She took an ikea frame, painted it gold, put foam and cardboard in the center, and stuck all her brooches on it. Erstwilder shared her image, I discovered this cool pin-up lady in Germany existed, and promptly followed her.
As luck would have it, the next day I was in Lost & Found Thrift in Bountiful, UT again and in the midst of their Halloween display, there was a cheap black plastic hollow picture frame. A trip to Joanne's for some silver paint and felt, and I was ready. My husband bought sheets of foam at Lowe's--more like insulation foam, but it did the trick and a HUGE sheet was only 14 bucks.
The little black frame was simple to turn into a brooch display. I painted it, let it dry, placed it on top of the foam, traced a perfect circle, cut it with a knife, wrapped the oval with felt, and stuffed it snuggly within the frame. I used a little hot glue to ensure it stays but I'm not terribly worried. The felt made it fit very well.
The result:
Now I just look at my brooches on the wall, pick one, pull it off, wear it, poke it back in end of the day.
But this is small and I have so many brooches and I had so much paint and foam leftover..and as luck would have it again, I was in the base thrift shop and found this huge elaborate frame for 5 dollars!!!
See how big that is??? Way bigger than I needed, but these frames aren't easy to find so cheap. But then I got to thinking...I have so many hair flowers and they too have pins on the back...
I also found wall sconces for a mere 3 dollars.
I could have left them gold, but then they wouldn't match the little one up above. So I painted them. I had just enough paint left to cover it all.
Once I painted them, I measured the opening of the frame...16 x 20...and cut my foam. This time I used pretty duck tape to cover my foam as it was actually cheaper than buying felt by the yard.
I covered the foam neatly with strips of duck tape, placed it in the frame in the same location you would a piece of glass, and this time reinforced it with more duck tape on the back as well as glue. OH, I also painted the sconces at the same time so it all matches.
back
front
Then I put all my brooches and some scarves on it all!
The entire project was around 30 dollars and the tape was also used for some clutches and I have plenty of leftover foam.
Howdy!
I'm back again for another post about my hair. I know, it never gets old. *hehe*
If you read my last post, this post will make a lot more sense to you. The photos shown here are after all of one wash with the Pulp Riot Purple Velvet hair dye over my faded, but pre-lightened hair. I didn't expect fantastic results, especially for coverage - simply because I only had a small bit of dye left, and this stuff sucks. Soo... I wasn't horribly worried about it, it was just something to hold me over until my Pravana arrived. If you can't guess, it arrived, hence the post. Anyways, since I'm rambling... The photos here sort of give you an idea of what I'm talking about when I say that it faded to a weird plum-orange color. You can see it in the under layers and towards the back of my head as I only mostly did the front and the top because that is the most noticeable part. These photos have not had any editing to them, this is just indirect sunlight outside in my carport. But as I am impatient, as soon as my new dye arrived I dived right in.
I decided to make a video of the process, because I honestly thought it would be easier than trying to take pictures with dye-covered hands. The original video ended up being about 20 minutes long, which is way to long, IMO, so I sped it up a bit and cut out the sound so there is no weird high-pitch background noise. I do not talk in the video either, because I figured it would be easier to type everything out and better explain it that way - especially if you were to try to do something like this at home, you can screen-shot the text versus trying to re-watch the video 12 times so you can get it just right.
Prepare yourself to laugh at all of my ridiculous faces I make. I'll try to explain this as best as I can beneath the video. I had to upload it via YouTube, because even though it's compressed down to all of 6 minutes the file size is apparently still too large for Blogspot. Pravana also smells really good so you'll notice me sniff it. HAHA!
I start off by putting both of the dyes together in the same bowl, but apart from each other so they are not touching or mixing. I moved to a middle section in my hair and clipped the rest of the hair on the top out of the way. I started with the Wild Orchid color against my roots, and brushed it to the ends of that section. The section beneath that I used the Violet from roots to ends, I continued this pattern until there was no hair remaining on the side of my head. The sections towards the top of my head I alternated between having the Wild Orchid on my roots and Violet on my ends, to Violet on my roots and Wild Orchid on my ends. The reason I did it this was so that when the hair all lays together it has "natural" highlights. The one nice thing about using a dye like Pravana is there is no mix-ins with developer or anything like that. It is a stain that you apply directly to your hair. You could add conditioner if you wanted to lighten the color, but I have found that it makes it last about 1/3 as long as it normally would.
When I make my way to the back of my head, since the hair is shorter around the bottom I used the Violet (main color) along the bottom and sides, and mixed the Wild Orchid throughout then I mixed the dye that was left in the bowl and rubbed it in all over. I applied it to the shaved side of my head too, with what was left on my gloves and my brush, but I honestly doubt it will have any lasting affect because the hair is so short. It more or less just stained my scalp, but it sure looks cool. When applying this stuff you need to be EXTRA careful to avoid your skin, or cover yourself in some sort of oil or Vaseline because since it is a stain, it will literally stain EVERYTHING.. including my bathroom sink, I don't know if you can see the part when I drip some.
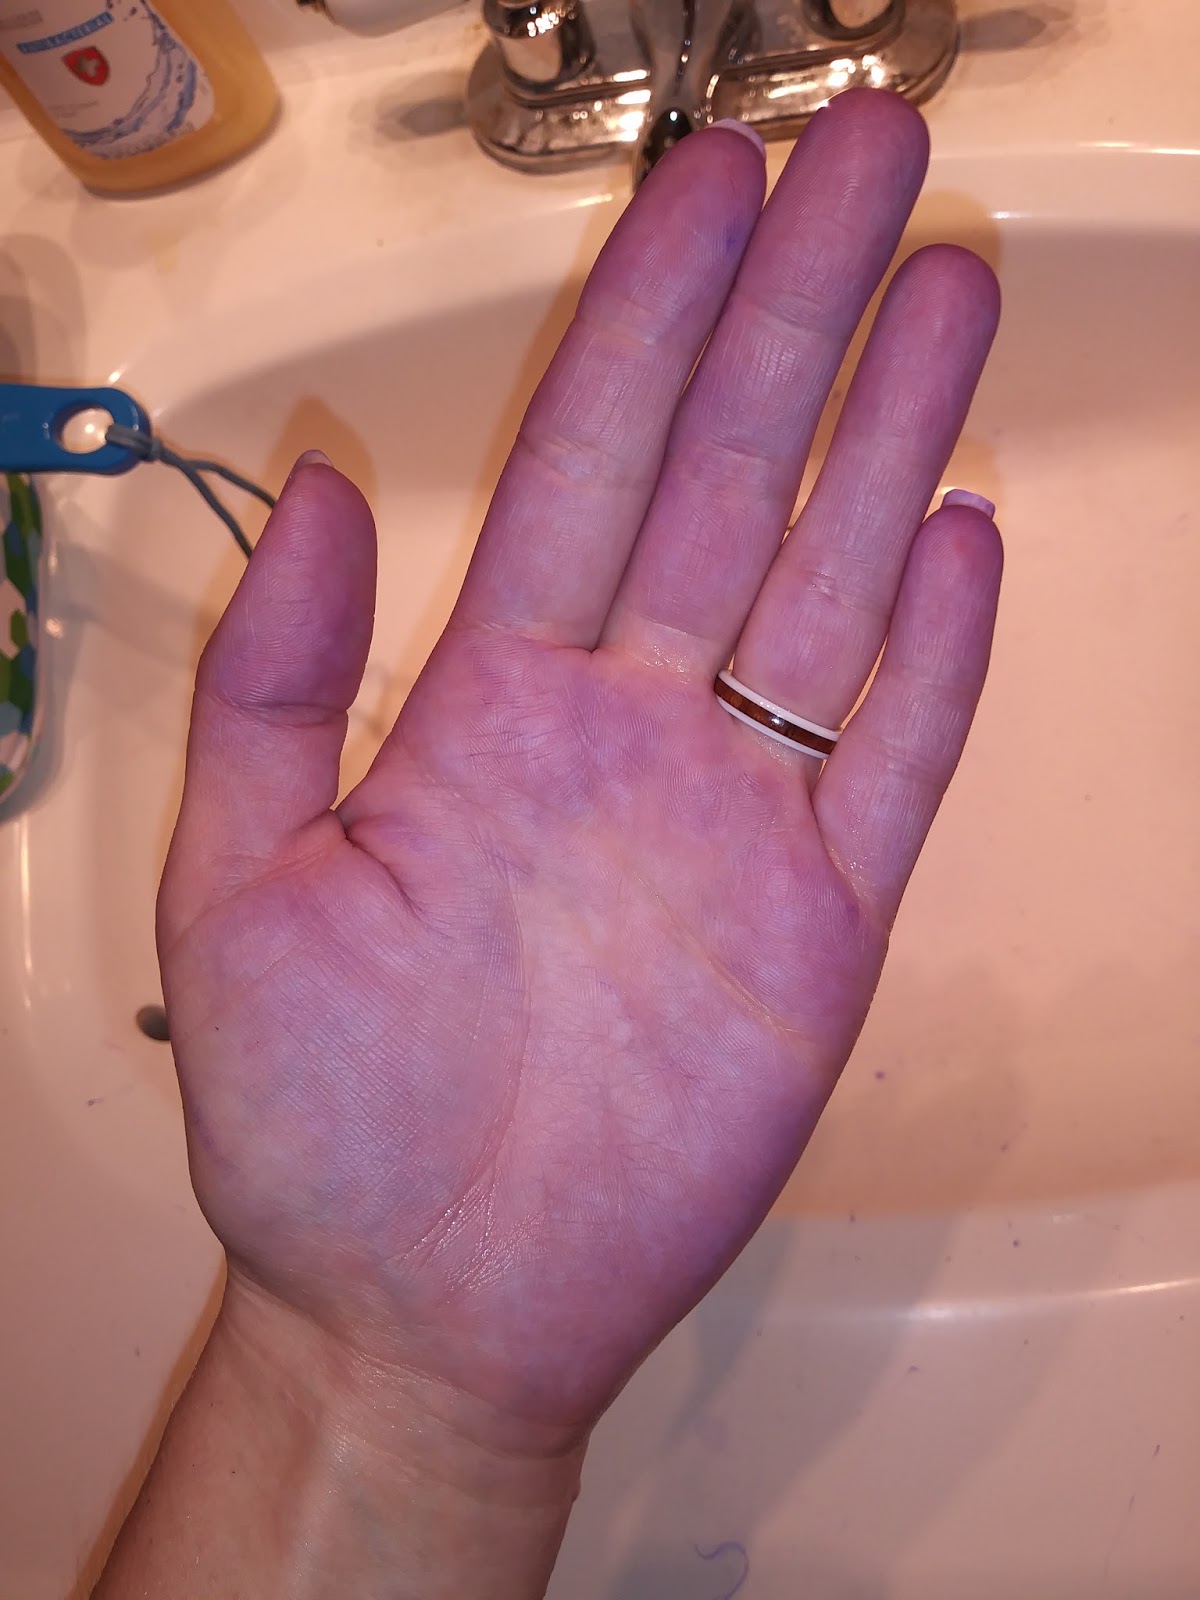
Here is my hand with and without flash, this is just from rinsing in WARM water. You would think after all these years I would get smart and wear a glove when I rinse, but that's a lot of work because then you get water in your glove and that's just gross.
I made another video of me drying my hair, just so you can sort of see the variation of color, and then a video of it all completely dry. I will take more pictures and possibly a video after my first wash so you can see how the color lasts. But prepare for more silly faces. Again, this video has no sound, just so that you didn't have to listen to the blow-dryer wailing, so don't bother turning your speakers up. Hah!
When I flip my hair around you can see I pause for a brief second to show you where some of the Wild Orchid color is showing through. The Violet always goes on REALLY dark, but after the first wash it gets really vibrant. I rinsed it until the water was mostly clear, as the instructions state, but even with my hair as short as it is I'm sure there is still a whole bunch in there, not to mention this stuff just rubs off and stains everything like crazy anyways. The one major downside to Pravana versus Pulp Riot, the Pulp Riot did not bleed or stain anything after application.
As I mentioned before the shaved portion will probably not remain purple after the first wash, which is fine, and all of the extra dye and staining on my neck will wash away too. The one thing I do hate about washing the first time is it literally stains my whole back purple, and any runoff I get on my face I will have purple streaks down my face. Luckily I have found that both makeup remover wipes and baby wipes work to remove it, with a bit of light scrubbing. I pause briefly to show you my fingers as well because you can see on my right hand, which is the clean one, that my finger tips turn purple from rubbing them against my roots. In case you missed it, here is an ADORABLE photo of it.
Anyways, that's it for now. Stay tuned for upcoming posts as I show you how the color washes and eventually fades. I'll talk about upkeep with dye as well as shaving my head, because I shave about once a week. Dye should hopefully remain about 6 weeks or so, but we'll see.
Thanks for reading! If you have any questions, feel free to drop them in the box below!
XOXO
Christina
Hey everyone! I'm back. Life has been CRAZY so I have been away, but I'm hopefully back for good this time, and I'm going to be posting some things of interest. If you care to follow along, great! If not, that's cool too.. Colored hair isn't for everyone.
I know you guys have been waiting for this, but I'm going to break it up into different posts because thats just the way my mind works, so I apologize for that.
Firstly, those of you that do not know, I shaved my head again. I keep telling myself I won't because I want it long, but my hair is sort of a crutch for me. I don't know why but I need to constantly change it.. Plus having it long gives me horrid migraines from the weight, but that's a different story.
Anyway, here is a mirrored image (for effect) of my hair cut now, only the left side is shaved.
I apologize again if this whole post is wonky, I'm attempting this from my phone.
You can't really see in the photo, but my hair is sort of back to my natural hair color (dark brown), on this side but the ends and middle on the other side are a weird plum-orange combo.. It's a bit strange but I'll explain that in a minute. I decided I couldn't stand the color anymore so I ordered more dye, only to find that I had some leftover. So naturally I re-recolored my hair instead of waiting.
This is Pulp Riot in Purple Velvet - I have to say I am disappointed with how long the dye actually stayed in my hair, true to color. They advertise it's vibrant for up to 40+ washes, on pre-lightened hair, so I decided to give it a go. Well, it lasted me all of about 6 washes and then it was no longer vibrant or very purple. BUT! I did like that it does not bleed everywhere and stain everything purple, and when it faded it still ended up being a weird light plum-orange combo. So when they say it stays true to color when it washes out, that is mostly true. Overall I think I would still recommend it. It would be excellent for blending or doing an ombre, but as an overall color I don't think it's for me.
I am a long time user of Pravana, particularly their Vivids. I have some Vivids Violet and Wild Orchid on the way (as I mentioned before), and I will do a review for them as well... I have tried many different purples over the years and even though Pravana stains everything and goes gray when it fades I think overall for duration and vibrancy it will remain my go to.
I should also add that I wash my hair every 3-4 days, and I use Dove For Men (because the caffiene is good for your hair supposedly) and thats it. I have looked into overtone, and for as much as I dye my hair it would probably be worth it, but I'm a cheap-ass and can't justify spending so much on a bottle of soap. LOL!
Oh! And another disclaimer, I am not a licensed professional hair stylist nor am I perusing to become one. I do my own hair from home, trial and error style.
Anywho. I'm looking forward to my new colors to get here.
If you have any questions, drop them in the box below.